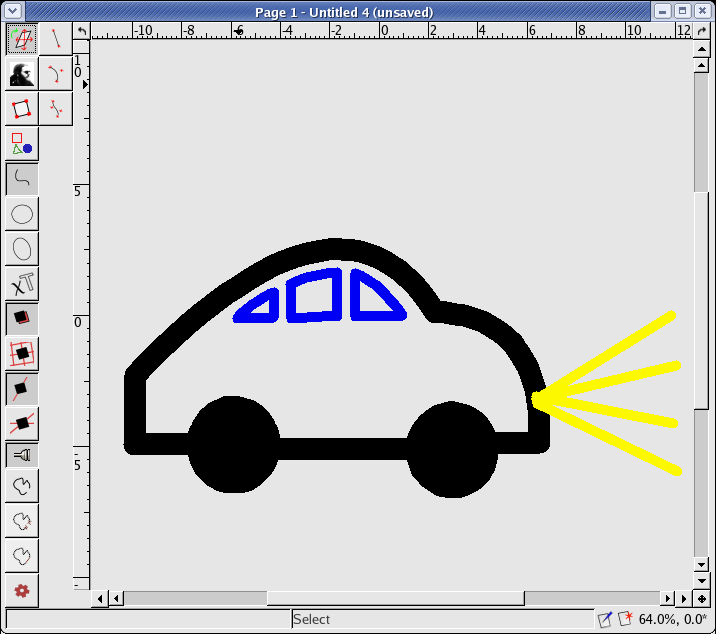
We will create a simple picture and try to modify the properties of some graphical objects:

First, draw a circle (defined by the center and the radius) and in the property editor change the stroke-cap to round and property “stroke-width” to 9 mm. The values you set are saved and used again for newly created objects. Create another circle and it will be drawn with stroke width 9 mm.
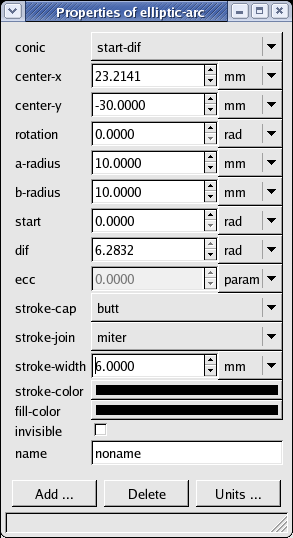
Now change the “center-y” coordinates and the “radius” properties in both circles
to the same value (the circles will be aligned horizontally and have the same size).
Draw a segment with end points in the centers of the two circles. Now create two
intersections of the segment and both circles (using the 
icon).
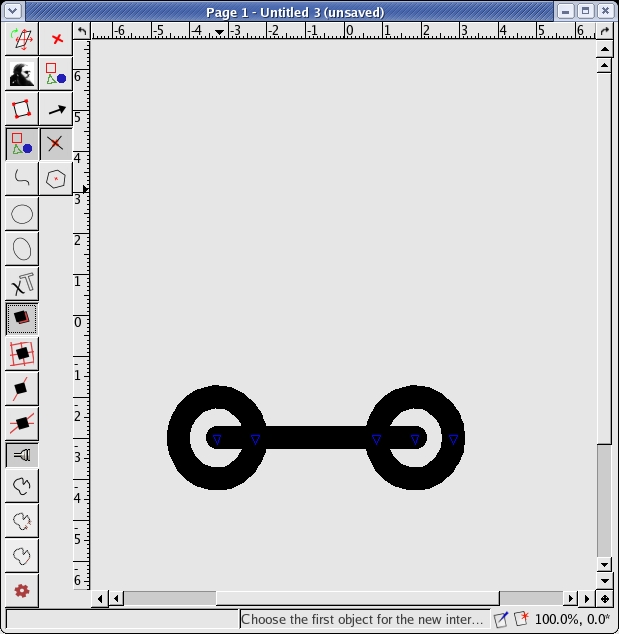
Select the segment and make it invisible (set the value of the “invisible” property to true). Now let these two intersections make a segment. Draw another two lines (car chassis). The picture should look like this:
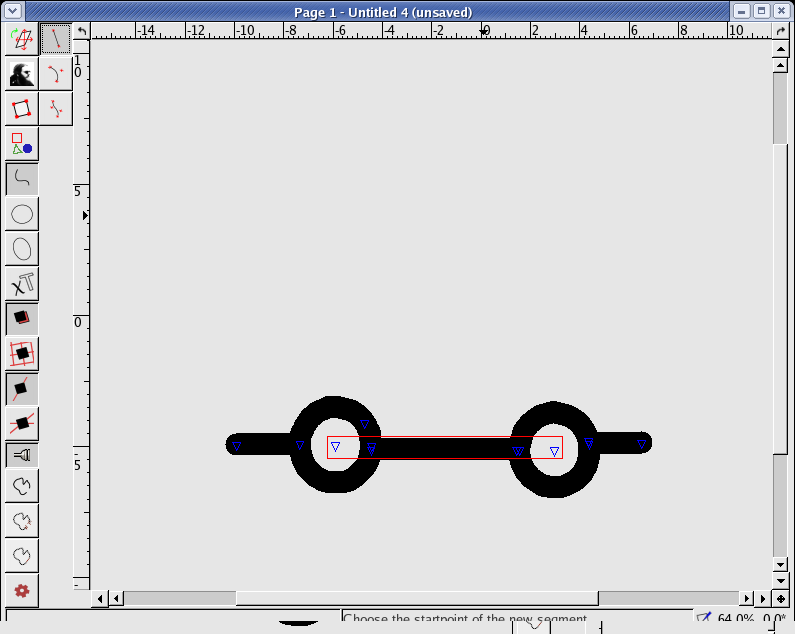
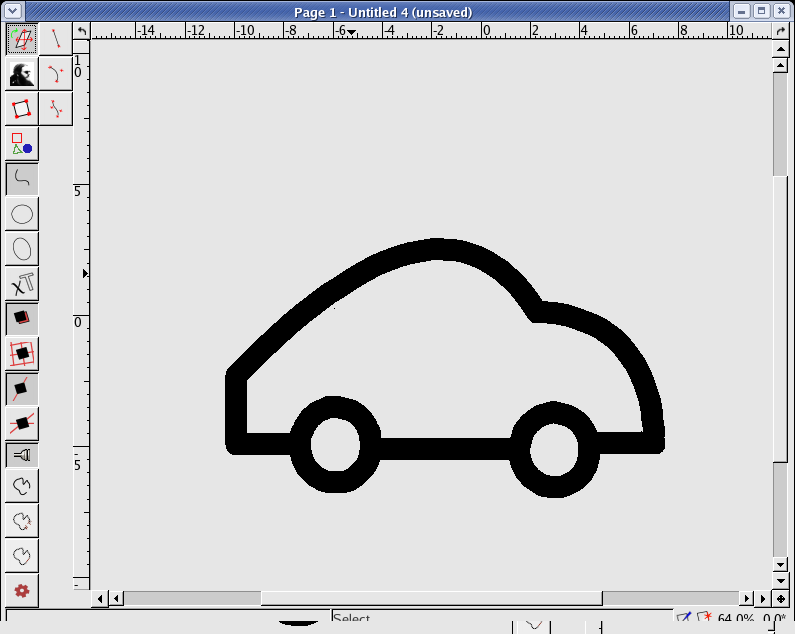
Continue and draw a segment, a quadratic Bézier curve (the roof) and an elliptic arc defined by 3 points (the front end). For this elliptic arc, set the property “conic” to “cw” or “ccw” to get this picture:
Now select both wheels and set their fill color to black (do not forget to set alpha to 1 to make the fill color opaque). Draw some segments for light rays, change their color to yellow, thicken the line to 3 mm. Finally, draw the windows with blue lines:
